Buying an IKEA kitchen looks simple: download IKEA Home Planner, drag the METOD modules together, head to checkout. But over 10 years and 300+ installations we’ve learned that most issues start long before the delivery van arrives. If you’re new to Czechia and navigating a kitchen project in a foreign system, this is the list we wish more people read first.
Why IKEA kitchens go wrong before they’re even assembled
IKEA operates on one assumption in Czechia: you plan your kitchen yourself. The METOD system is modular, the Home Planner app is intuitive, installation is optional. It looks like it saves time and money.
The reality: around 70% of installation problems come from planning errors — things that could have been caught in minutes if anyone had flagged them. Here are the seven we see most often.
Mistake 1: Trusting IKEA Home Planner without a physical measurement
The IKEA Home Planner is great for visualisation, but it cannot show you the actual state of your flat. It assumes square corners, flat walls and ideal dimensions. Reality in a Czech panel flat or a renovated old building rarely matches:
- Walls aren’t perpendicular — often 2–3 cm out of plumb per metre
- Ceiling heights vary corner to corner
- Floor mouldings eat into usable depth
- Window or door positions don’t match the plan
Plan via the Home Planner and you risk an 80 cm wall cabinet that simply won’t fit between two columns the app never showed. And IKEA doesn’t make a 78 cm version.
Mistake 2: Wrong METOD modules for your actual appliances
METOD comes in fixed widths: 20, 30, 40, 60 and 80 cm. Appliances are standardised too, but not everything fits everywhere. Classic case:
An oven-with-microwave combo in a tall housing column has different depths across manufacturers. Plan a METOD column for a standard oven, then buy a combination unit, and the column depth often isn’t enough — the appliance door won’t open all the way.
Same with hood types — flat, telescopic, island. Each has different mounting needs and a different upper cabinet requirement.
Mistake 3: Not preparing electrical, water and waste lines
This is the most expensive mistake. On delivery day you find that:
- The new island has no electrical supply
- The dishwasher needs its own circuit you don’t have
- The sink is shifting 30 cm — but there’s no plumbing there
- The fridge needs a dedicated circuit you never planned for
Installation stops. The kitchen sits in pieces for 1–2 weeks until an electrician and plumber are available — assuming you can find them. Utility preparation must happen before the kitchen is delivered, not after.
What we cover: Preparing electrical, water and waste lines for kitchens.
Utility preparation takes one day. A stopped installation because the utilities weren’t ready takes two weeks — and that’s just the time, not the extra call-outs and friction.
Mistake 4: Choosing the worktop by the catalogue picture
The worktop is the most stressed surface in a kitchen. People typically pick on colour and texture — and miss what shows up after a year:
- Laminate chipboard swells around the sink if the cut-out isn’t perfectly sealed
- Solid wood needs oiling twice a year — neglect it and it’ll crack
- Engineered stone isn’t heat-resistant — a hot pot straight on the surface leaves marks
- HPL compact laminate costs more but is the best for high-use households
Full comparison: Kitchen worktop materials — laminate, solid wood, compact, stone.
Mistake 5: Ordering with no spare parts
IKEA quality is generally good, but not perfect. Roughly 1 in 10 deliveries contains a transport-damaged part — scratched, dented, cracked corner. Find it on installation day and you wait another 2–3 weeks for the replacement.
Workaround: order the most stressed components in duplicate — one extra worktop, one extra of any critical front. If unused, return them. If used, the installation never stops.
Mistake 6: DIY installation without the right tools
METOD is designed for self-assembly — under ideal conditions. In reality you need:
- Line laser to align the cabinet row — without it, you’ll always end up with a step
- Router for precise hob and sink cut-outs
- Drill with angle guide for secure anchoring into panel walls
- METOD-specific hinge tool for hinge adjustment
Without these and without prior experience, DIY ends either mid-job — or with a crooked kitchen someone has to come and fix anyway.
Mistake 7: No written handover protocol
When the kitchen is done, IKEA — and any decent installer — should issue a handover protocol: a written document listing what was installed, in what condition, with which appliances.
Without it, you cannot file a manufacturer warranty claim if something fails six months later. IKEA will reasonably assume the issue came from poor installation — and you have nothing to prove otherwise.
More: What a handover protocol is and why you need one.
The fix
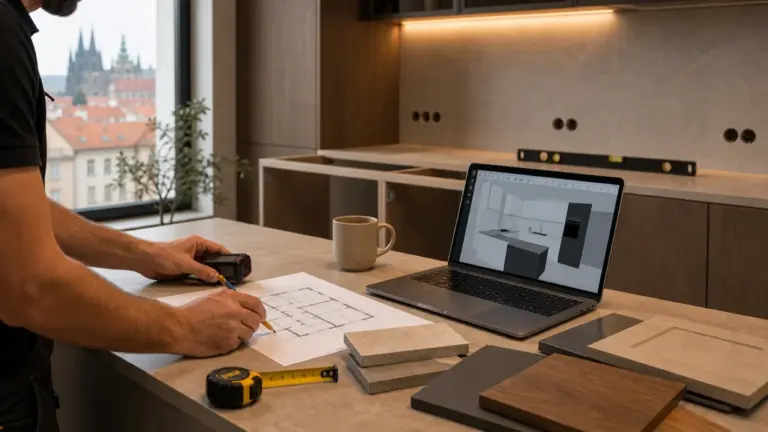
Most of these mistakes are solved by one thing: professional measurement and a documented project before you order. It takes 60–90 minutes, you get a floor plan, IKEA product codes and notes on utility lines. Then you order a kitchen that actually fits.
How we do it: Kitchen measurement and planning for IKEA.